This afternoon and evening I created a new 12 minute video for my “Cook with Wes” video series on YouTube, “Spring Cleaning My RecTeq RT-700 Bull Smoker: Tips & Tricks!” I recorded the audio on my iPhone 13 using a cheap tripod from Amazon and iPhone tripod mount. I edited the video clips together using iMovie for iOS, and added a little copyright-friendly background music from filmmusic.io.
Since I didn’t wear a lapel microphone and I turned from facing the camera from time to time during the recording of this video, I wanted to improve the quality of the audio in my video a bit. I used the web-based audio enhancer auphonic.com along with QuickTime Player for MacOS, in a fairly simple and quick workflow. I chose the default option “Voice Cleaner (keep music), Partial Reverb” as my audio normalization option.
You can visually see the improvement in audio levels in the waveform comparison which Auphonic displayed after processing my audio. The initial audio from my video is shown in the lower waveform, the final / output audio improved by Auphonic is shown above.

Here are the specific steps I followed to create this “audio-enhanced” video:
- I recorded the different clips of my video on my iPhone 13 using a tripod and plastic iPhone mount.
- I downloaded some free, copyright-friendly music I liked from filmmusic.io. (Saved to my iCloud FILES on my iPhone.)
- I saved a screenshot of the “Carbona 2-in-1 Oven Rack and Grill Cleaner” product on Amazon which I mentioned and wanted to include as a “picture-in-picture” image in my video. I saved this to my iPhone camera roll.
- I used iMovie for iOS to edit my video, using the downloaded song as background music during the time-lapse sequences. I also inserted the Carbona screenshot a couple places in the video when I mentioned it. (I call this a “Quick Edit Video.”)
- I made a screenshot of the copyright-friendly music which I then used at the end of the video to provide required Creative Commons attribution.
- I exported / shared the final video to my iPhone camera roll.
- I airdropped the final video to my MacOS laptop.
- I opened the video with QuickTime Player and EXPORTED the file in an audio-only version.
- I uploaded that .m4a audio file to Auphonic.com and chose the “Voice Cleaner (keep music)” preset.
- I downloaded that enhanced / processed file, and “dropped it” on my movie in QuickTime Player, and clicked DONE. (Whoa-la, like magic, now I had MUCH better audio in my video!)
- I exported the edited video from QuickTime Player as a 4K video.
- I uploaded the video to YouTube.
- I uploaded the audio file to a new project in descript.com (to which I have a monthly subscription, it’s AWESOME) and then used the “Overlord” feature to create a YouTube description with time-stamped chapter marks.
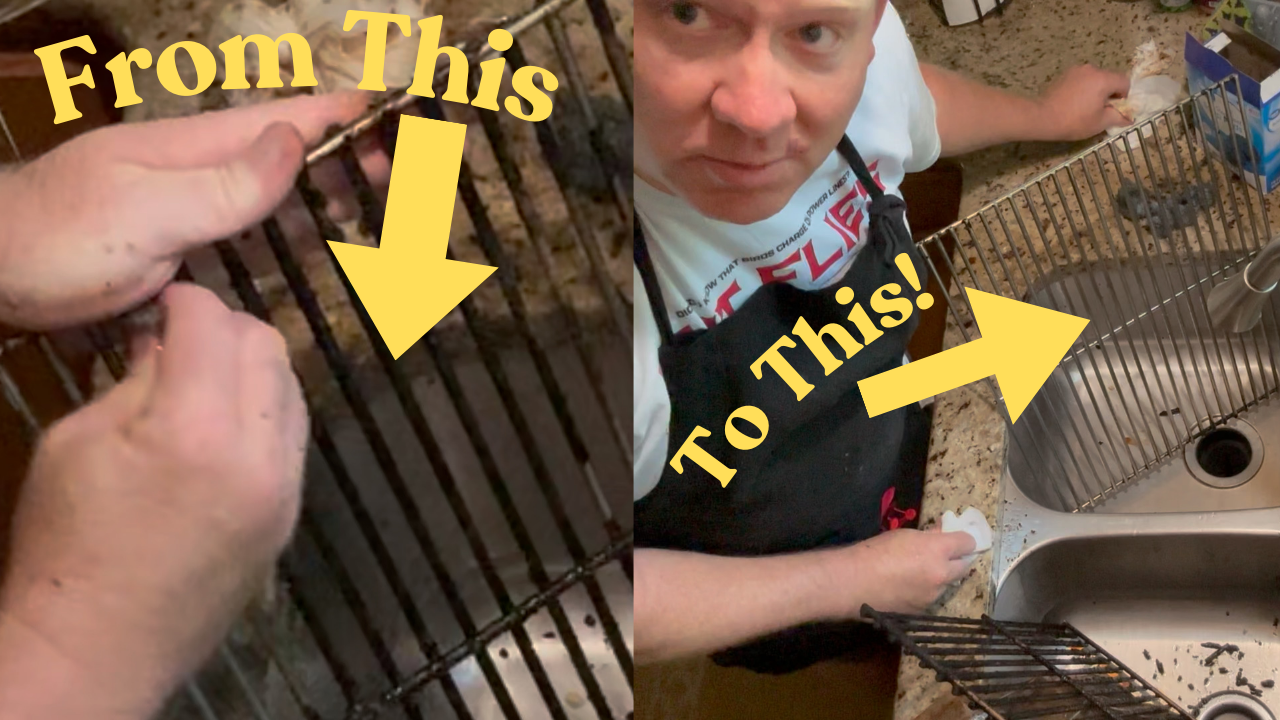
- I cook a couple screenshots of different scenes from the final video, saved those to my computer, then put them into Canva.com to create my YouTube video thumbnail.
- I uploaded the final / audio-enhanced video to YouTube, using the Descript provided description, my own title, and the thumbnail I created with Canva.
Do you have a different workflow with different tools which you prefer for enhancing the quality of the audio your videos? If so please let me know what you use and do!
Source : Better Video Audio with Auphonic